 EN
EN
Choose the Right Tap for Your Threading Task First
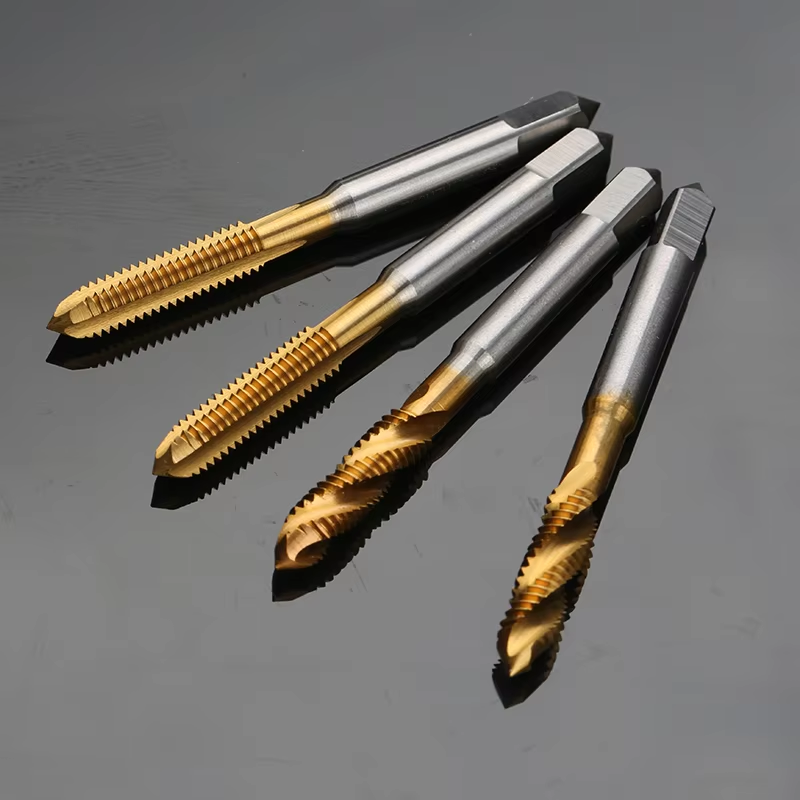
Picking the correct tap is the foundational step for smooth threading, and getting this wrong will lead to messy threads or even broken taps every single time. With over 15 years in the precision tool industry, I’ve seen countless clients struggle with threading failures just because they used a generic tap for all jobs—like a woodworking tap on 42Cr steel, which always ends with stripped threads. Our company offers a full range of high-quality thread taps, including options compatible with metric, British, and American thread systems, and we’re even China’s top supplier of carbide thread inserts that pair perfectly with our taps for tough materials. Industry machining experts all stress that tap selection must match the workpiece material, thread type, and machining equipment: for soft materials like wood or aluminum, our standard HSS taps work great; for high-hardness metals like alloy steel, our carbide-tipped taps with diamond PCD inserts are the go-to choice. We also provide custom ODM/OEM taps for special threading needs, such as the taps matched with our LBK400L LBK system for micro boring and precise threading. Every tap we produce undergoes strict quality checks, so you’re guaranteed a tool that’s sharp, rigid, and perfectly suited for your specific threading task—no more guesswork when choosing a tap.
Prepare the Workpiece and Equipment for Tap Operation
Proper preparation of the workpiece and CNC equipment is key to avoiding tap breakage and ensuring precise threads, and this step is often overlooked by inexperienced machinists. I once worked with a CNC machining center client that kept breaking taps during aluminum part threading; after checking their process, I found they skipped pre-drilling the correct pilot hole and didn’t secure the workpiece properly. Our technical team guided them to use our precision measuring tools to drill a pilot hole with the exact diameter for their tap, and to clamp the workpiece with our ER32 collect chucks for absolute stability—after that, their tap breakage rate dropped to zero. Professional machining handbooks state that the pilot hole diameter must be calculated based on the tap’s thread pitch and material, and our professional technical personnel are always on hand to help clients figure out the perfect size for any job. Our taps are designed to work seamlessly with all standard CNC lathes and machining centers, and we also offer tap holders that fit our SER1616 turning tool holders for integrated threading and turning operations. Taking 10 minutes to prep the workpiece with our precision tools and secure the tap properly in the equipment will save hours of rework and tap replacement down the line.
Master the Core Operating Techniques for Tapping
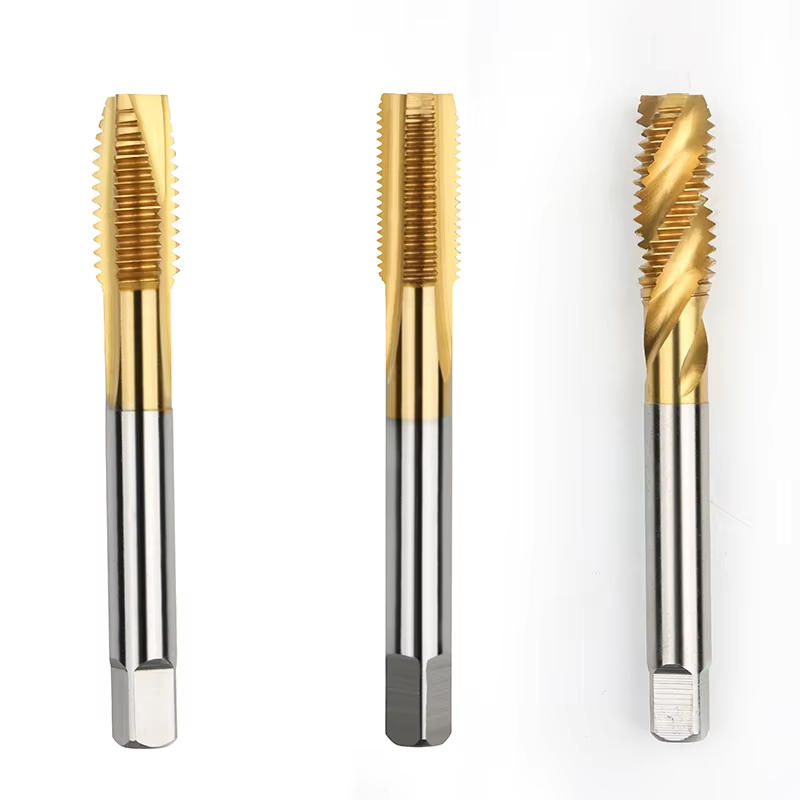
Mastering the basic operating techniques of a tap is what turns a beginner into a skilled machinist, and these simple but critical steps ensure clean, accurate threads every time. From training countless clients on tapping, I know the two biggest mistakes are applying too much force and ignoring chip removal—both of which cause tap jamming and broken threads. When using our taps, the key is to apply light, consistent downward pressure while rotating the tap clockwise (for right-hand threads) at a steady speed; our taps feature optimized spiral flutes that pull chips out of the hole automatically, so you just need to reverse the tap slightly every few rotations to clear excess chips. For deep hole threading, our crown deep hole U-drill paired with our specialized deep-hole taps is a game-changer—the drill’s inner cold shedding design delivers cutting fluid to the tap, cooling it and flushing chips away for smooth operation. CNC machining experts confirm that a slow, steady rotation speed (matched to the tap material and workpiece) is far more important than brute force, and our taps are engineered with sharp, wear-resistant cutting edges that require minimal pressure to cut through material. Whether you’re doing manual tapping or CNC automated tapping with our intelligent equipment-compatible taps, these core techniques will ensure perfect threading results.
Use Cutting Fluid Properly to Protect the Tap and Threads
Using cutting fluid the right way is an essential part of tapping that protects both the tap and the finished threads, and it also extends the tap’s service life significantly. I had a long-term client in the automotive parts industry that stopped using cutting fluid to save time, and they noticed their taps wore out 3x faster and their threads had rough, burred edges. After switching to the correct cutting fluid and applying it continuously during tapping with our carbide taps, their tap service life tripled, and their threads were smooth and burr-free—meeting international precision standards. Our company’s technical team always advises clients on the best cutting fluid for each job: soluble oil for mild steel and aluminum, neat cutting oil for high-hardness steel and stainless steel, and synthetic fluid for non-ferrous metals. Industry tool maintenance experts state that cutting fluid reduces friction between the tap and workpiece, prevents overheating that softens the tap’s cutting edges, and washes away chips to avoid them scratching the finished threads. All our taps are designed with flutes that hold cutting fluid and deliver it directly to the cutting zone, making the fluid far more effective than it is with generic taps. Skipping cutting fluid might save a little time, but it costs far more in tap replacement and rework on bad threads.
Maintain the Tap and Check Thread Quality After Tapping
Proper tap maintenance and post-threading quality checks ensure your taps last longer and your threaded workpieces meet all required standards—this final step is what makes for consistent, professional results. In my years in the industry, I’ve found that clients who clean and store their taps properly have taps that last up to 50% longer than those who just toss them in a toolbox. For our carbide and HSS taps, the maintenance steps are simple: clean the tap with a soft brush to remove all chips and cutting fluid after use, dry it thoroughly, and store it in a dedicated tap holder to avoid dulling the cutting edges or bending the shank. We also offer professional tap sharpening services as part of our comprehensive after-sales service, so dull taps can be restored to like-new condition instead of being thrown away. After tapping, use our precision measuring tools to check the thread pitch, diameter, and fit—our technical team can also guide clients on how to do this quickly and accurately. Industry quality control experts emphasize that post-threading checks catch small issues before they become big problems, and our taps are manufactured to such high precision that they rarely produce faulty threads when used correctly. With our fast delivery capability and sufficient inventory, you’ll always have replacement taps on hand if needed, and our professional team is always available to help with any tap maintenance or threading quality questions.