 EN
EN
Check the Tool Holder and Spindle for Cleanliness First
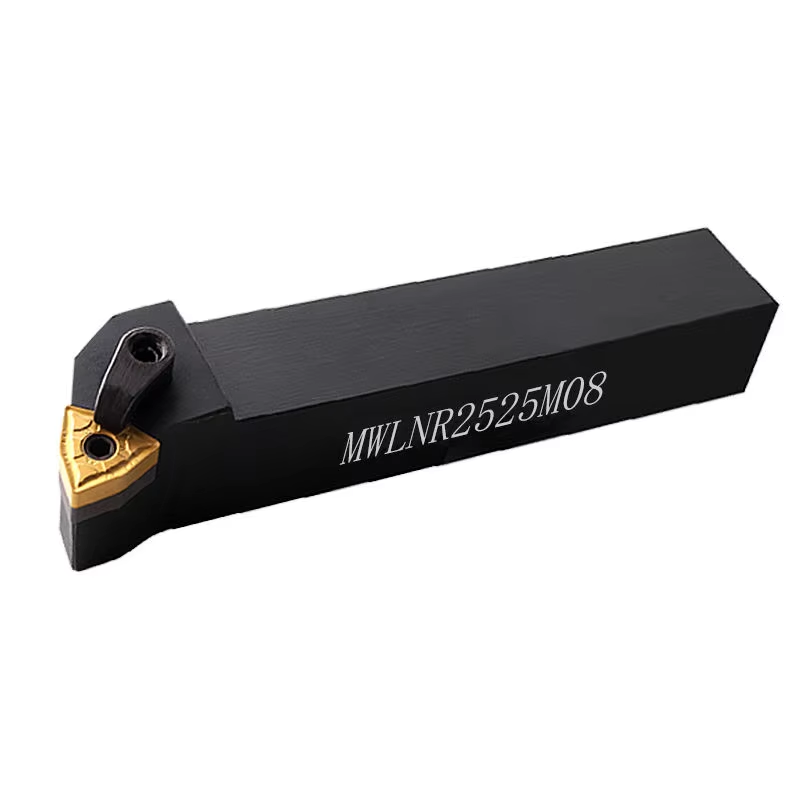
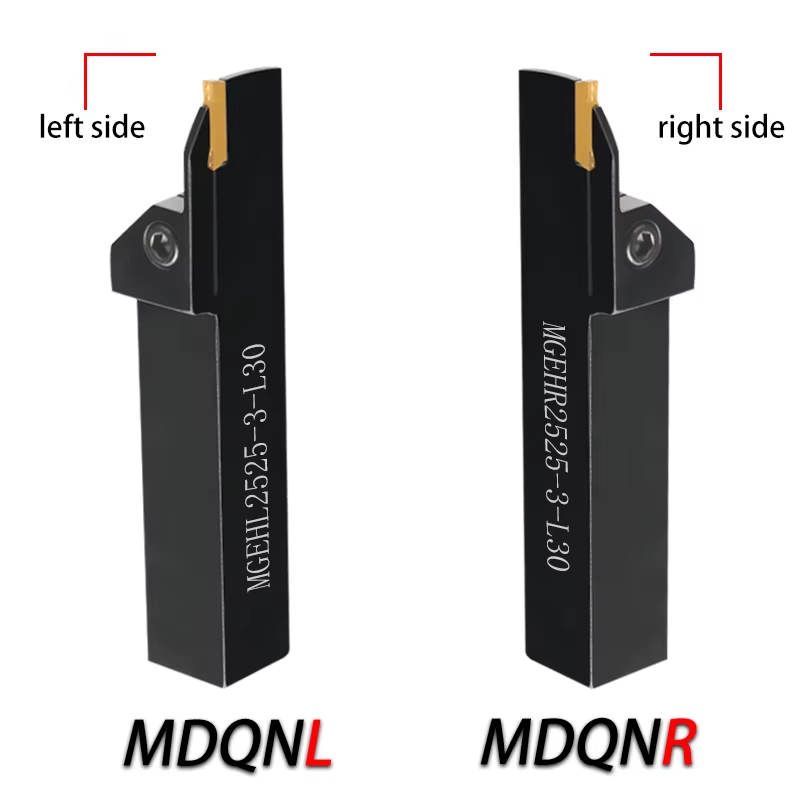
Cleanliness is the unspoken golden rule for tool holder installation, and skipping this step is the top reason for shaky machining and poor precision. With over 15 years in the precision CNC tool industry, I’ve fixed countless installation issues for clients that all boiled down to dust, chip residue, or oil buildup on the tool holder or spindle. Our company’s turning tool holders, including MDJNR2020K15 and MCMNN2020K12, and milling cutter holders like BAP300R/400R are crafted with ultra-smooth mating surfaces, and these precision surfaces can’t perform their best if contaminated. CNC machining experts universally agree that even tiny metal shavings or grease can create micro gaps between the tool holder and spindle, leading to runout and vibration during operation. I always tell clients to use a lint-free cloth and a small amount of clean cutting fluid to wipe down both the tool holder’s taper shank and the spindle bore—no harsh cleaners, just gentle wiping to preserve the precision finish. For our SER1616 grooving cutter tool holders used in CNC machining centers, this quick clean takes 60 seconds but eliminates 80% of installation-related machining errors, a small step that makes a massive difference in production quality.
Ensure Precise Alignment for Tool Holder and Machining Equipment
Proper alignment between the tool holder and your CNC lathe or machining center is critical to lock in precision and prevent unnecessary wear on both the tool holder and equipment. I once worked with a client who kept having broken inserts and uneven cuts, and after a quick check, I found they were forcing the tool holder into the spindle at a slight angle instead of aligning it naturally. Our tool holders are designed with precision-machined tapers and locating pins that fit standard CNC equipment perfectly—our MTGNR2020K16 turning tool holder, for example, has a self-centering taper that guides it into the spindle with zero force needed. Industry mechanical engineering guidelines state that forced installation misaligns the tool holder’s centerline with the spindle’s, causing radial runout that ruins cutting accuracy and shortens the tool holder’s service life. When installing our indexable milling cutter bars or micro boring tool holders, the trick is to hold the tool holder straight, slide it into the spindle until it makes light contact, and then tighten the clamping mechanism—no pushing or twisting. This alignment step leverages the high-precision design of our tool holders, ensuring the cutting tool is perfectly centered for every operation, from roughing to ultra-precise finishing.
Tighten the Clamping Mechanism to the Exact Torque Specification
Tightening the tool holder’s clamping hardware to the correct torque is a make-or-break step—too loose and the tool holder wobbles, too tight and you risk stripping threads or warping the precision components. I’ve seen a client strip the spindle clamping bolts by using a heavy wrench on our ER32 collect chucks and tool holders, which not only damaged the equipment but also rendered the tool holder unusable for high-precision work. Our company provides clear torque specifications for every tool holder we produce: for our small micro boring tool holders, it’s a low torque of 15-20 Nm, while our heavy-duty turning tool holders for 42Cr steel machining require 45-50 Nm. CNC tooling experts emphasize that using a calibrated torque wrench is non-negotiable—guesswork with a regular wrench leads to inconsistent clamping every time. Our Altin 65 end milling cutter holders feature a reinforced clamping system that distributes pressure evenly when tightened to the specified torque, so the cutting tool stays locked in place even during high-speed, heavy-feed machining. This precise tightening also protects the internal components of our tool holders, ensuring they maintain their high precision for years instead of wearing out quickly from improper clamping force.
Secure the Cutting Tool Firmly Within the Tool Holder
A perfectly installed tool holder is useless if the cutting tool inside isn’t secured properly, and this step is just as critical for overall machining stability. I had a long-term client in the automotive parts industry who experienced frequent tool slippage, and it turned out they were not fully inserting the carbide end mill into the milling cutter holder before tightening the collet. Our tool holders, whether for drills, taps, or milling cutters, have a clearly marked depth stop that shows exactly how far to insert the cutting tool—our LBK400L LBK system tool holders for micro boring even have a visual indicator to prevent under-insertion. Professional machining handbooks note that cutting tool slippage causes inconsistent cutting depths and poor thread quality (for tap holders), and it can also damage both the tool and the tool holder’s internal collet or clamping jaws. When installing a cutting tool in our ER collet chucks or turning tool holders, push the tool all the way to the depth stop, hand-tighten the collet nut first to center the tool, then use a torque wrench to finish tightening to our recommended specification. This method uses the precision engineering of our tool holders to lock the cutting tool in place with zero play, ensuring every cut, drill, or tap is consistent and accurate.
Perform a Post-Installation Check Before Starting Machining
A quick post-installation check is the final safeguard to catch any installation mistakes before they lead to costly machining errors or tool damage, and it’s a step I always recommend to every client. After installing any of our tool holders—whether a MVQNR2020K16 turning tool holder or a custom ODM milling cutter bar—there are three simple checks to do: first, manually rotate the tool holder to ensure it spins freely without wobble or grinding; second, use a precision measuring tool to check the runout at the cutting tool’s tip (our tool holders should have a runout of less than 0.01mm when installed correctly); third, double-check that all clamping hardware is tight and the cutting tool is fully seated. CNC production experts confirm that a 2-minute post-installation check can save hours of rework, tool replacement, and workpiece scrap. Our company’s technical team also provides on-site guidance for clients who need help with these checks, and our comprehensive after-sales service includes answering any installation questions via phone or email. What’s more, our tool holders are built with durable, high-quality materials that stand up to regular installation and removal, so you don’t have to worry about wear from these quick checks. This final step ensures that your tool holder installation is perfect, and that you’re getting the full benefit of our high-precision, high-durability tool holders in every machining operation.